Easy Chocolate Bark Recipe with Crisp Toppings
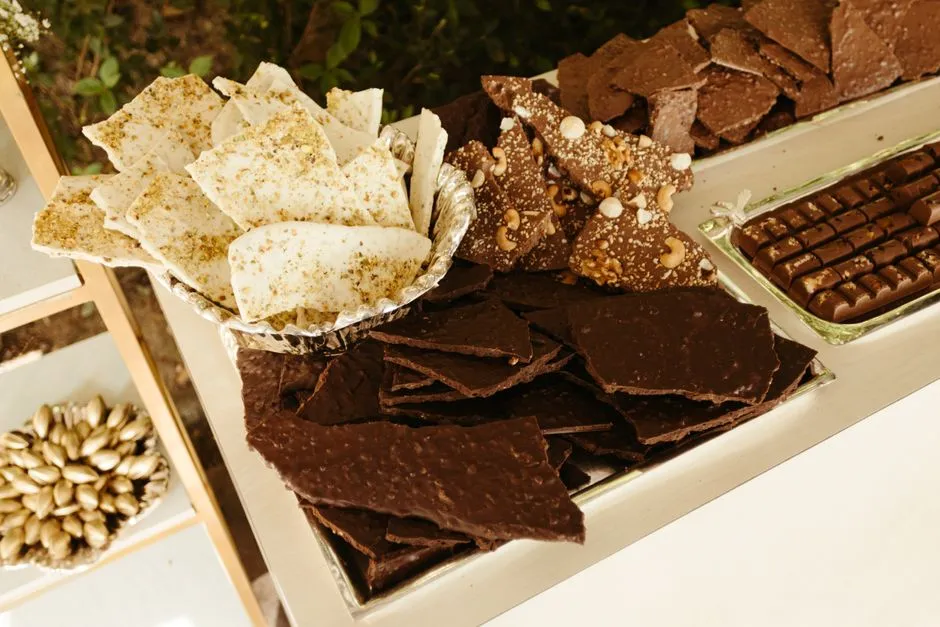
A 12-ounce bark with measured toppings
Easy chocolate bark needs 12 ounces (340 grams) of chocolate and 2 ounces (57 grams) of dry toppings. Melt gently, spread into an 8-by-10-inch rectangle, add toppings before the surface sets, and leave it undisturbed until firm.
This simple method does not promise confectionery-perfect temper. It does promise a useful ratio and no need to purchase a tiny marble counter with personal ambitions.
Ingredients
- 12 ounces (340 grams) dark, milk, or white chocolate intended for melting or baking
- 2 ounces (57 grams) dry toppings, chopped as needed
- 1 small pinch fine salt, optional
Topping ideas include toasted nuts, seeds, crisp cookie pieces, pretzels, or dried fruit. Check every ingredient label for allergens and cross-contact statements. Do not use toppings that are wet, freshly washed, or warm.
Equipment
- Digital kitchen scale
- Completely dry cutting board and knife
- Microwave-safe bowl or heat-safe bowl for a water-bath method
- Dry flexible spatula
- Small offset spatula or back of a spoon
- Sheet pan or flat board
- Parchment paper
Water and melted chocolate are bad colleagues. Dry the bowl, spatula, knife, and hands before beginning.
Prepare before applying heat
Line the pan with parchment. Draw an 8-by-10-inch rectangle on the reverse side if a guide helps, then turn the marked side down so ink never touches food.
Chop the chocolate into small, similar pieces. Weigh exactly 340 grams. Weigh a total of 57 grams of toppings and arrange them within reach. Once the chocolate is spread, leisurely cupboard exploration becomes less charming.
The home chocolate recipes favor weight because “one handful” changes dramatically between nuts, crisped rice, and the person doing the handfuling.
Melt in short microwave intervals
Put the chopped chocolate in the microwave-safe bowl. Heat at half power for 20 seconds, stir thoroughly, then repeat in 15-second intervals. Stop when a few small solid pieces remain and stir until residual heat melts them.
Microwave power and chocolate composition vary, so the times are checkpoints, not a guarantee. The bowl can become hot; use appropriate protection. Do not let steam or water enter.
Alternatively, place the heat-safe bowl over a saucepan containing barely simmering water, with the bowl bottom not touching the water. Stir gently and remove it before all pieces disappear, finishing through residual heat. Lift the bowl away from steam carefully and wipe its underside before setting it near the prepared pan.
Overheating can scorch chocolate or damage its texture. More heat is not the repair for thick, grainy chocolate.
Spread and top evenly
Pour the melted chocolate onto the parchment and spread it to roughly 8 by 10 inches. An exact rectangle is unnecessary, but reasonably even thickness helps the slab set and break consistently.
Scatter the 57 grams of toppings across the surface. Concentrate some pieces near edges but avoid heavy piles that detach when broken. Press toppings very lightly with a clean, dry spatula so they make contact. Add the optional pinch of salt sparingly.
If using ingredients with different sizes, add large pieces first and fine crumbs last. This prevents the crumbs occupying every available patch while the almonds wait outside the venue.
Let it set without moisture
Leave the bark in a cool, dry room until completely firm. Setting time depends on chocolate, temper, thickness, room conditions, and topping temperature. If the room is too warm, refrigerate briefly in a sealed or protected setup, but avoid condensation.
Once firm, lift the parchment and break the slab into pieces with clean, dry hands. For neater portions, use a warm, dry knife, wiping and drying it between cuts. Do not use force on an unstable board.
For geometric pieces, the guide to the best beginner chocolate mold compares silicone, polycarbonate, and thin rigid plastic.
Store according to the shortest-lived ingredient
Place bark in a clean airtight container with parchment between layers. Store in a cool, dry, dark location when all ingredient labels permit. Strong odors, humidity, heat, and sunlight can affect flavor and appearance.
If refrigeration is necessary, keep the container sealed while the chocolate approaches room temperature before opening; this helps reduce condensation on the surface. Discard bark with mold, off odor, pest exposure, or uncertain handling.
The finished bark may show streaks or soften more readily if the chocolate was not tempered. That is a finish issue, not a reason to invent a tempering result the recipe did not attempt. It will still be chocolate, which remains an extremely persuasive consolation prize.